Docs/Building an app
Building an app
Create and publish your first site with Codunk in under 5 minutes.
You get free credits when you sign up. Credits are used for generations and code edits; plain chat guidance and failed generations are not charged.
1. Create an account
Go to codunk.com and click "Get started". You can sign up with your email address or with Google. No credit card required.
2. Create your first project
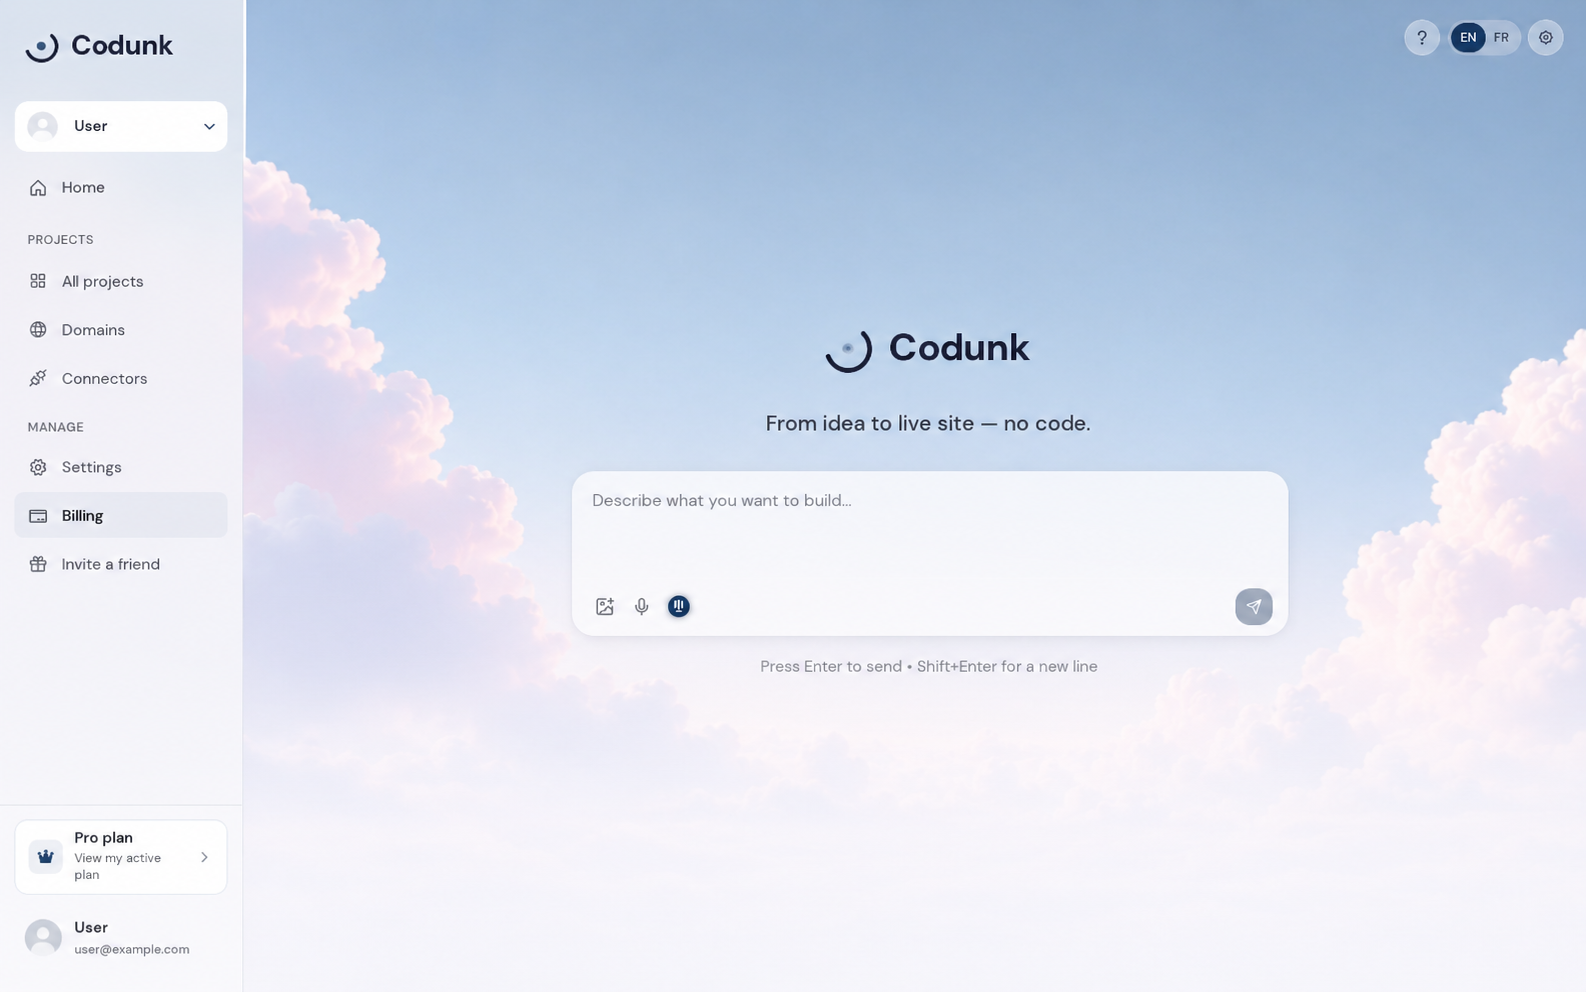
From the dashboard, click "New project". You will enter the Studio where you can describe what you want to build. Choose a creation mode:
- Prompt — Describe your site or app in natural language and Codunk builds it.
- Clone — Paste a URL. Codunk recreates a similar design and adapts it to your project.
- Template — Start from a pre-built template and customize it.
Learn more about each mode in the Writing prompts guide.
3. The Studio interface
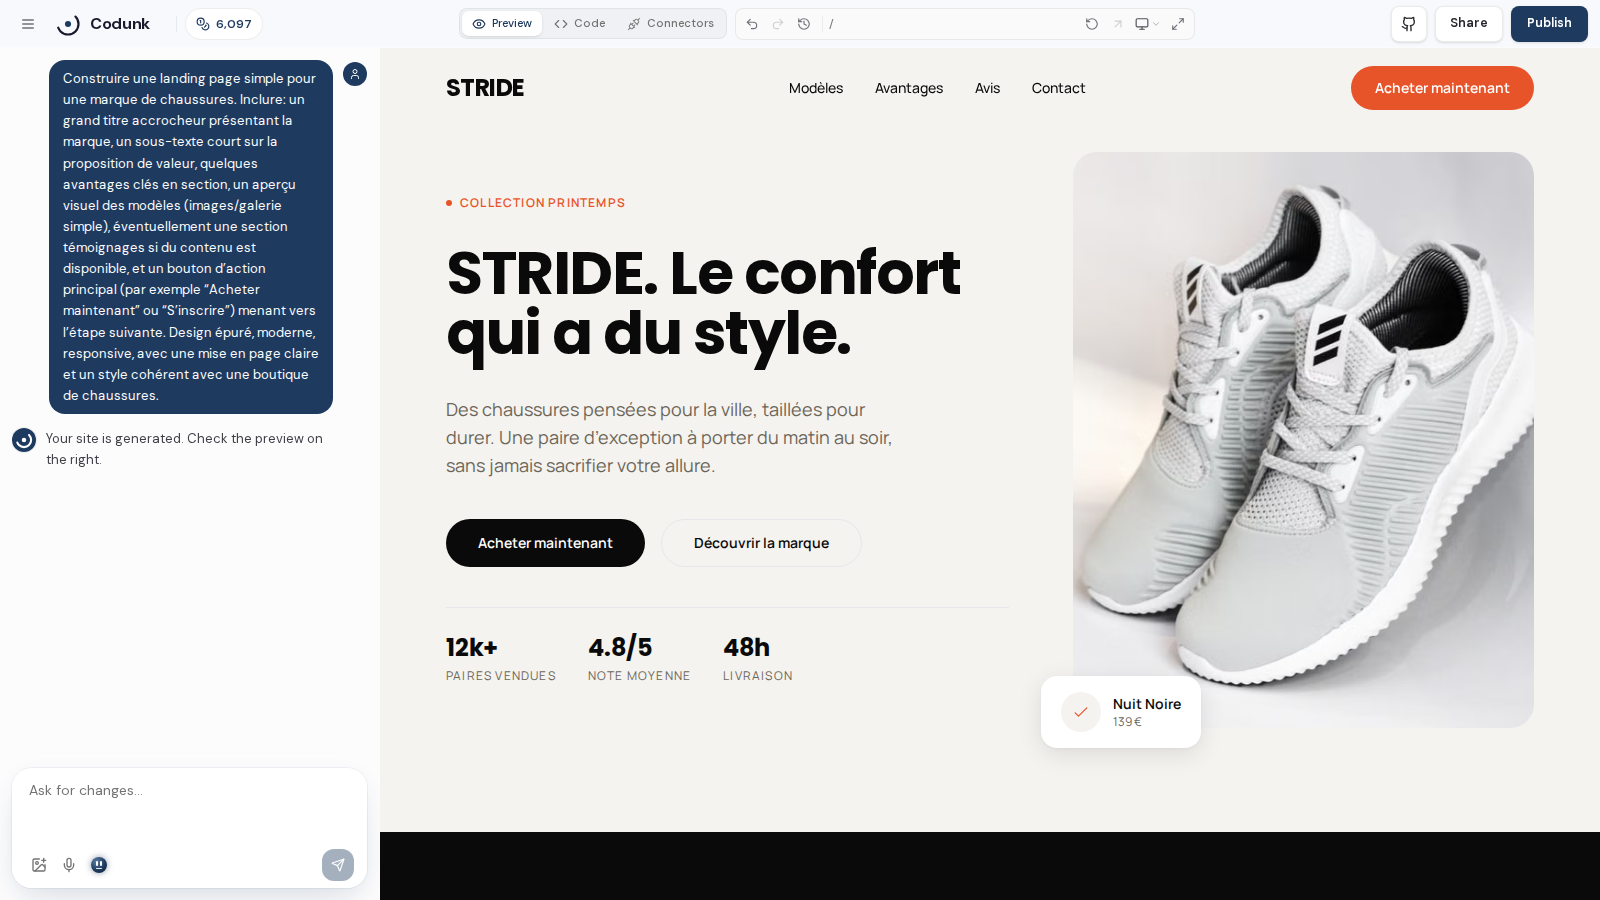
The Studio has two panels:
- Left — Chat: Type what you want. Codunk may suggest focused options, but you can accept, skip, or write your own direction.
- Right — Live Preview: See your site update instantly. You can interact with it and test responsiveness.
The top bar gives you access to preview/code, settings, version history, responsive formats, publishing, and integrations. Credits are shown near the chat so you always know what remains.
4. Add integrations only when needed
You can build a SaaS mockup, dashboard, marketplace, landing page, portfolio, or internal tool without connecting anything first. If the project needs real auth, data, payments, or tracking, connect Supabase, Stripe, or Google Analytics from the Integrations panel.
5. Publish your site
Click the rectangular Publish button in the top bar. Your site gets a free yoursite.codunk.site subdomain instantly. Want your own domain? See Custom domains.