Docs/Using the Studio
Using the Studio
The Studio is where you build, inspect, integrate, publish, and refine your project.
Overview
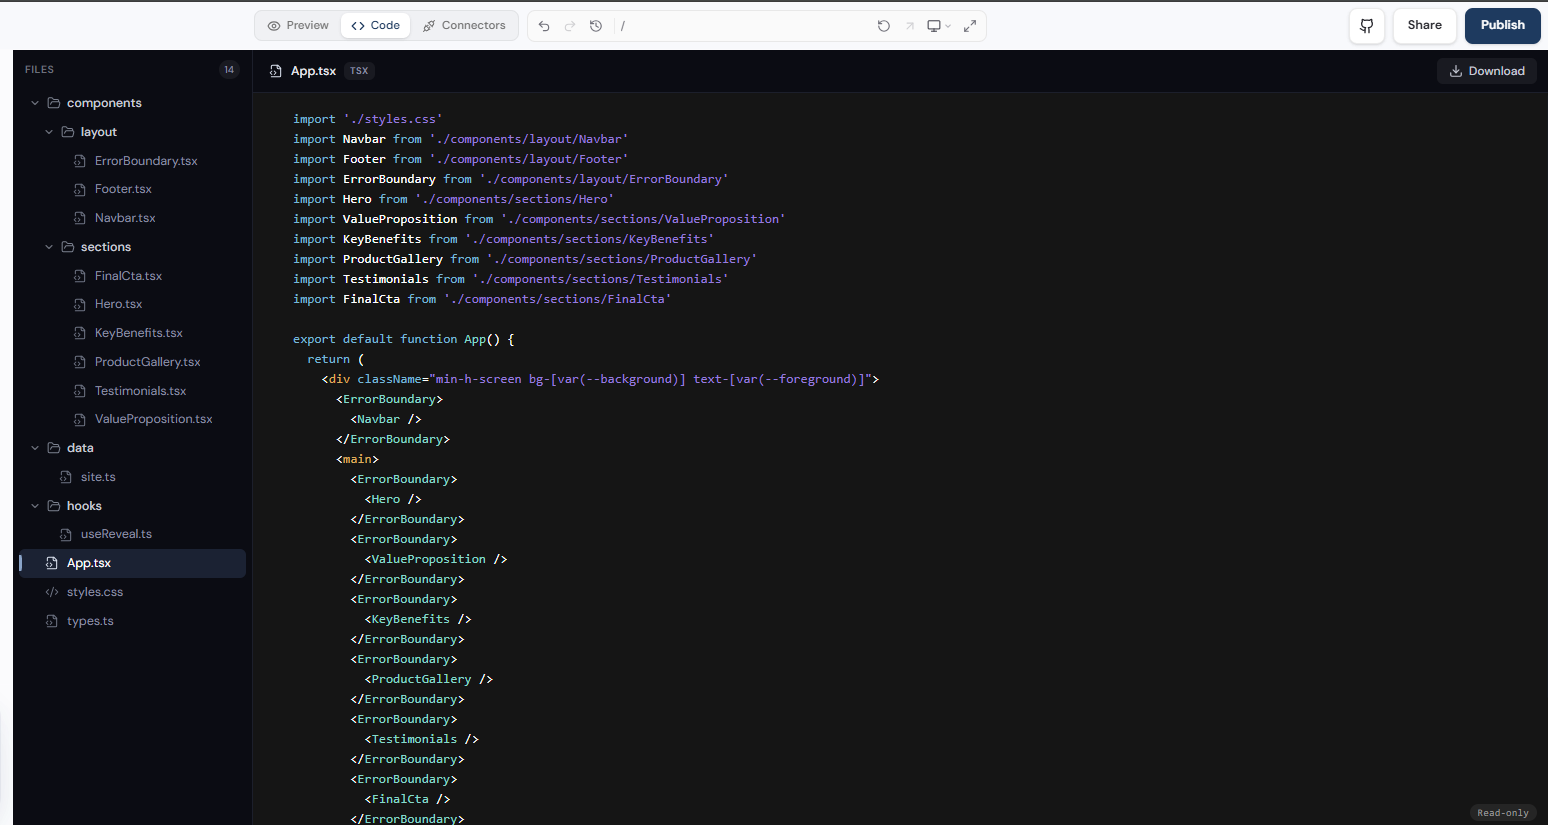
The Codunk Studio is a split-screen workspace. On the left, you chat with Codunk. On the right, you switch between live preview and code. The top bar groups preview/code/integrations, the project URL controls, version history, responsive formats, share, and publish.
Chat and suggestions
The chat is your main tool. Codunk can ask clarifying questions or propose options based on the project, but those suggestions are optional. You can skip them, pick one, or write your own instruction.
You can ask Codunk to:
- Generate a complete website from a description
- Modify specific sections (header, footer, colors, fonts)
- Add new pages or components
- Fix bugs or improve the design
- Add interactivity (forms, animations, modals)
- Connect integrations like Supabase, Stripe, or Google Analytics when the project needs them
Creation modes
Prompt
Describe your idea in natural language. Best for new projects. See Writing prompts.
Clone
Paste a URL. The AI analyzes the design and recreates a similar site customized for you.
Template
Start from a pre-built template. Fastest way to get going. See Templates.
Live Preview
The preview is interactive: you can click buttons, fill forms, and navigate between pages. The responsive formats control shows desktop, tablet, and mobile clearly, so you can inspect layout without guessing what the icon means.
Code view and export
Code view lets you inspect generated files. The copy icon was removed from the code header; use the Download button when you want to export the project files — see Exporting your code.
Version history
Every time Codunk generates or modifies your site, a version is saved automatically. Version controls now sit near the preview URL controls, keeping credits near the chat and history near the project surface you are inspecting.